And so begins this year’s EDAAC program…
We started the day with a team-building exercise to help everyone learn more about each other. In five minutes, we talked about ourselves in the hope of finding three traits we all shared and one trait unique to each of us. Besides the fact that we are humans, we all like succeeding, Thin Mints, and the ocean. The differences were very easy to find, and we decided to illustrate that with the fact that we were all born in different places (Brasil, China, Connecticut and Denver). This exercise aimed to illustrate that we all have common and unique characteristics. In addition, we all have different strengths and weaknesses, and in order to be most successful, we have to plan accordingly.
Having been acquainted with each other, we were presented with an overview of this year’s EDAAC program. Our approach to solving the problem of preventive art conservation will be multidisciplinary and design-based, combining aesthetics and decision-making processes and utilizing the resources of world-renowned institutions. We will be informed by the history of and current techniques and approaches to art conservation, as well as discussing the challenges and ethical issues that affect modern conservation practice. The framework of our problem-solving will be the engineering design process, complemented by brainstorming activities that will enhance our ability to creatively address problems.
Unlike last year’s team, who worked with three-dimensional pieces, we have been charged with developing innovative storage solutions for paintings. Each student will select a painting from the MFAH’s permanent collection for which to develop a travel frame.
Professor Wettergreen then lectured us on the subject of Engineering for Art Conservation. He began with the history of art conservation, citing the role of war as a common force behind the movement of art pieces between countries. Modern conservation, he explained, now focuses on the idea of “minimal intervention,” where it is the goal of the museum’s archivists and conservationists to store, preserve, and restore artwork successfully with minimum change to the art’s original state. A brief overview of handling and storing of art was discussed, as well as the point that sometimes events that can negatively affect the art occur beyond the museum’s control, such as natural disasters. Conservationists today consider the artist’s intent when storing a work and consider the interaction the work has with the environment over its lifetime.
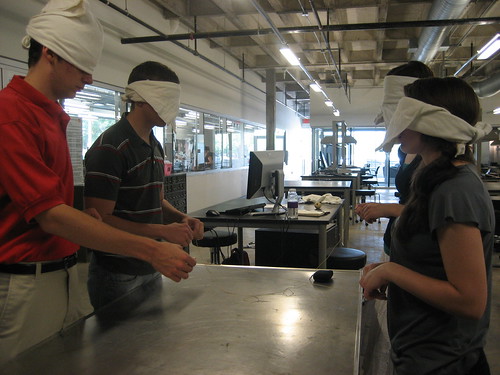
We also received a tour of the Oshman Engineering Design Kitchen (OEDK) from Carlos Amaro, the facility’s support technician. The OEDK offers a wide selection of tools and resources for Rice students working on design projects. Upon request, a student can have access to the building, as well as a work bench. In addition to a classroom, there is a computer room and three reservable conference rooms. The kitchen also offers a machine shop that includes lathes, mills, drill presses, grinders and a band saw. The building also has a laser cutter, 3D printer, circuit board printer and soldering station. In addition to standard printers and a photocopy machine, there is also a large format plotter printer. While all these resources can be expected in a state of the art facility, the most surprising piece of equipment was a sewing machine.
We enjoyed a lunch at the Cohen House held by the Center for Civic Engagement to welcome and introduce the Civic Research and Design summer student fellows.
We will use a digital workflow process, which uses online tools for collaboration within the group. Google Chat is used for communication between members, Google Docs and Dropbox will store documents, Flickr holds relevant photos, and YouTube will store videos. We will also use Google Calendars to schedule meetings and deadlines, Delicious to store bookmarks of important web pages, and a wiki page on Wetpaint to keep an online source of all our research and ideas. These resources will allow quick communication and sharing of ideas, as well as keeping a record of all our works for future reference.
After an introduction to the tools, we then spent a few hours organizing the information of the previous summer. We familiarized ourselves with the aforementioned websites, grouped together the ideas and research of the 2009 summer, and updated our blog’s About page, creating a separate page for information on last summer’s fellows.
This wraps up our fun and exciting first day!